
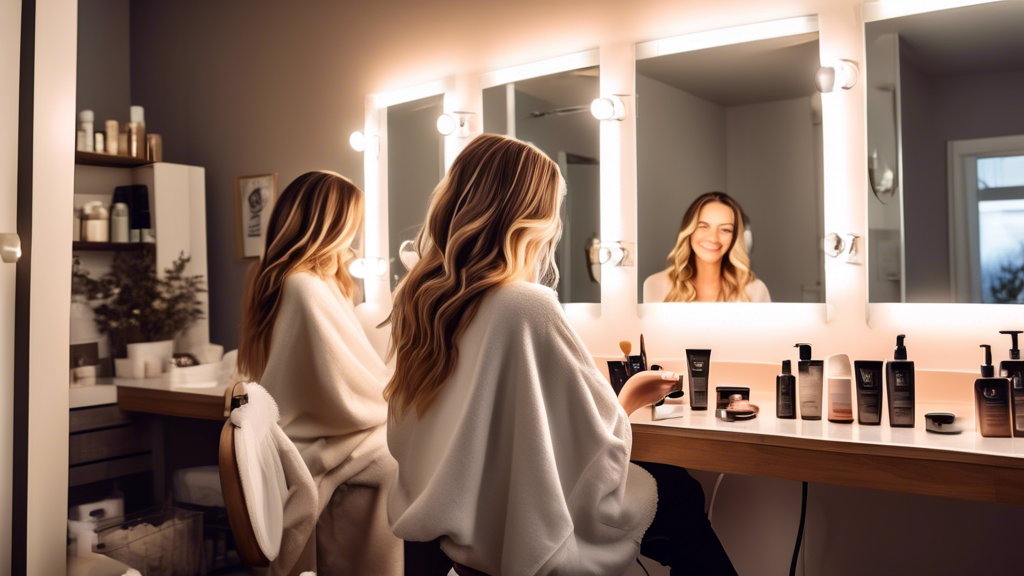
Balayage, a French word meaning to sweep, refers to a hair coloring technique where the dye is hand-painted onto the hair to create a naturally blended, sun-kissed look. While traditionally performed in salons by professionals, achieving salon-quality balayage at home is entirely possible with a little know-how and the right tools. In this guide, we'll walk you through the process step-by-step.
Understanding Balayage
Before diving into the DIY process, it's essential to understand what makes balayage unique:
Natural Look: Unlike traditional highlights that use foils, balayage creates a more natural, blended look as if your hair was naturally lightened by the sun.
Low Maintenance: Since balayage grows out beautifully and there's no harsh regrowth line, it's an excellent option for those looking for a low-maintenance hair color.
Gathering Your Supplies
For a successful DIY balayage, you'll need the following tools and supplies:
- Quality Hair Bleach Powder
- Developer (20 or 30 volume, depending on how light you want to go)
- Dye Brush
- Plastic Mixing Bowl
- Gloves
- Sectioning Clips
- Comb
- Old T-shirt or Cape
- Toner (optional, for neutralizing brassy tones)
- Deep Conditioning Treatment
Step-by-Step Guide to DIY Balayage
1. Preparation
Start by ensuring your hair is clean but dry. It's best to perform balayage on unwashed hair to protect your scalp from irritation. Put on an old T-shirt or a cape to avoid staining your clothes, and gather all your supplies in a well-ventilated area.
2. Mix the Bleach
Follow the instructions on the bleach powder package to mix it with the developer in a plastic bowl. The consistency should be thick enough to stay on the hair without dripping.
3. Section Your Hair
Section your hair into manageable parts using clips. Typically, you'll want to divide your hair into four sections: two at the front and two at the back. This helps in ensuring even application.
4. Start Painting
Wearing your gloves, take a small section of hair and start applying the bleach mixture from mid-lengths to ends. Use a sweeping motion with your brush to create a gradient effect. Focus more on the ends for a more natural, sun-kissed look. Repeat this process, working your way through each section of hair.
5. Blend It In
To avoid harsh lines, use your fingers or a comb to blend the bleach into your hair. This will help create a seamless transition between your natural color and the lightened sections.
6. Processing Time
Allow the bleach to process according to the instructions, typically between 30 and 45 minutes. Keep an eye on the color and check every 10 minutes to achieve the desired level of lightness.
7. Rinse and Tone
Once the desired color is achieved, thoroughly rinse out the bleach with lukewarm water. If your hair has brassy tones, you can apply a toner following the manufacturer’s instructions to neutralize any unwanted warmth.
8. Deep Condition
After rinsing out the toner, apply a deep conditioning treatment to restore moisture and add shine to your hair. Leave it on for the recommended time before rinsing.
Aftercare Tips
To maintain your new balayage highlights, use sulfate-free shampoos and conditioners specifically formulated for colored hair. Incorporate weekly deep conditioning masks into your routine and try to minimize heat styling to keep your hair healthy and vibrant.
Conclusion
DIY balayage can be a rewarding and cost-effective way to achieve salon-quality highlights at home. With careful preparation, the right tools, and a bit of practice, you can create a beautiful, sun-kissed look that rivals professional results. So why not give it a try and enjoy the satisfaction of a successful DIY project?