
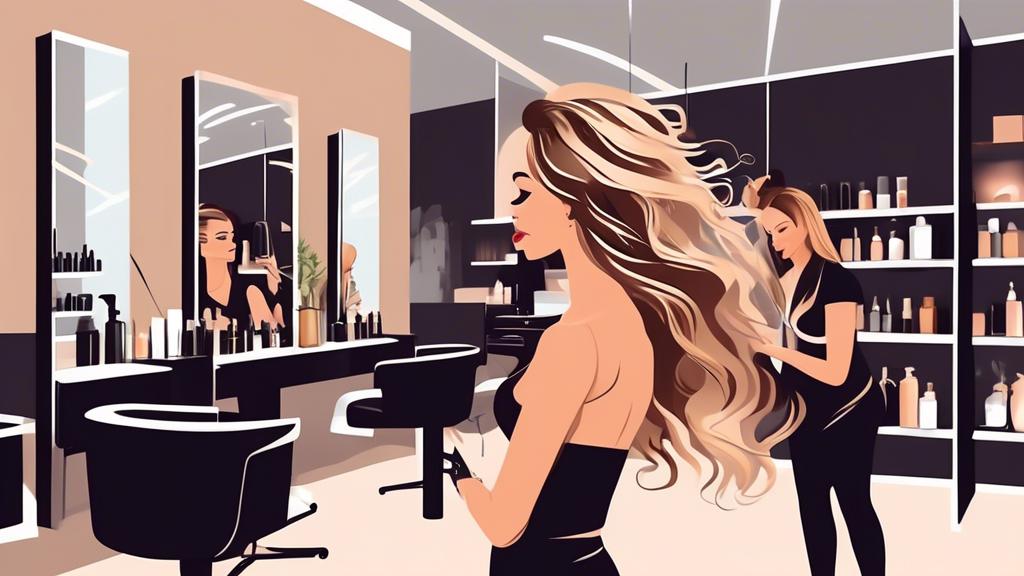
Balayage is a timeless hair coloring technique that delivers a natural, sun-kissed effect, appealing to many for its low maintenance and effortlessly chic look. However, achieving a flawless balayage requires more than just skill; the right tools are essential. One of the most crucial tools for any stylist aiming to perfect this art is the balayage board.
What is a Balayage Board?
A balayage board, also known as a balayage paddle, is a flat, firm surface that supports the hair while the color is applied. It creates a stable base, allowing the stylist to apply the color more precisely and evenly. Typically made of materials like plastic, acrylic, or wood, these boards often have a slightly curved edge to match the natural contour of the head, enhancing comfort and ease of use.
Steps to Mastering Balayage with a Balayage Board
1. Preparation
Before starting the balayage process, it is vital to prep the hair. Ensure that the hair is clean and dry. Section the hair properly, which will make it easier to apply the color systematically. A good practice is to divide the hair into four main sections for better control and manageability.
2. Selecting the Right Board
The size and shape of your board matter. Choose a board that is large enough to support the width of the hair sections you’ll be working with, but not so large that it becomes unwieldy. It’s often helpful to have a couple of different sizes on hand to accommodate various parts of the head.
3. Proper Positioning
Position the board under the hair section where you’ll be applying the color. The curved edge should ideally rest against the scalp to provide a comfortable and natural angle for painting. Hold the board firmly but comfortably in one hand while you use a brush to apply the color with your other hand.
4. Application Technique
Begin by loading your brush with the appropriate amount of color. Use a sweeping motion to apply the color, starting at the mid-length of the hair and working downward. Apply lighter pressure as you move toward the ends to create a natural gradient. The balayage board will provide a solid backing, preventing the color from bleeding through to other sections and helping you achieve clean, defined strokes.
5. Blending
For seamless transitions, blending is key. Use a dry brush or your fingers to blend the color toward the roots slightly, ensuring there are no harsh lines. The board’s flat surface is ideal for maintaining consistent pressure, ensuring an even application.
6. Checking Your Work
Periodically step back and inspect your work. The balayage board helps create an even application, but it’s essential to check for balance and symmetry across the hair sections. Make adjustments as needed, ensuring that the color placement enhances the natural hair flow and facial features.
Benefits of Using a Balayage Board
Using a balayage board provides numerous advantages:
- Precision and Control: The stable surface allows for precise application, reducing the risk of uneven lines or blotchy patches.
- Efficiency: It speeds up the coloring process as you have a firm base to work on, making it easier to apply color quickly and accurately.
- Versatility: Boards come in various sizes, accommodating different hair lengths and styles, ensuring versatility in your technique.
- Reduction of Mess: It minimizes the amount of color that gets on areas you don’t want it, reducing cleanup time and ensuring a neater process.
Conclusion
Mastering balayage with a balayage board requires practice and patience, but the results are well worth the effort. The board is an indispensable tool that enhances precision, control, and efficiency. As you become more proficient with this technique, you'll find that the balayage board is not just a tool but an extension of your artistry, helping you create stunning, natural-looking highlights that your clients will love.