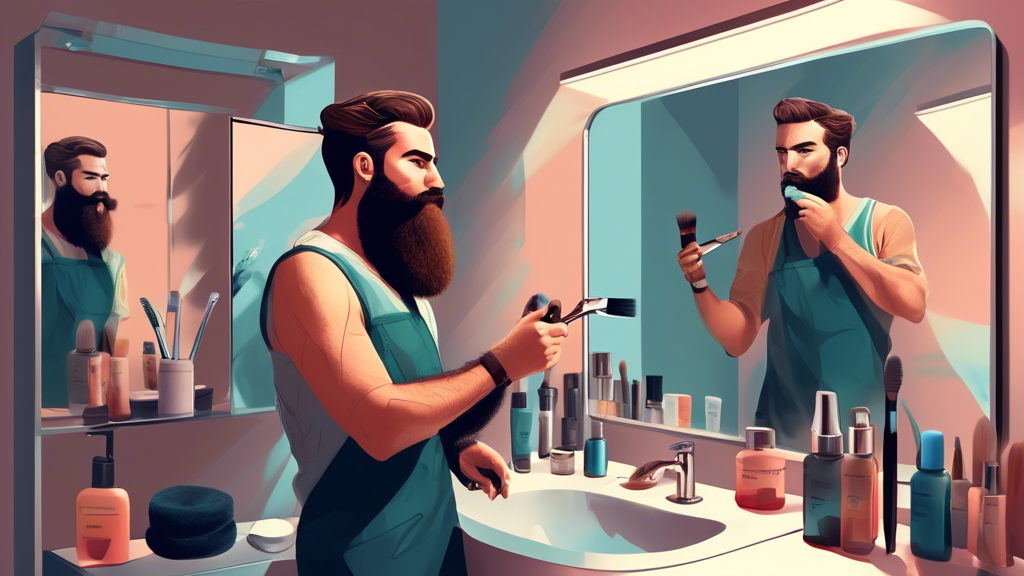
Ensuring your beard has the desired color can make a significant difference in your overall appearance and confidence. Using a brush to apply beard dye offers a precise and even application, ensuring that every strand gets the proper coverage. Below, we provide a step-by-step guide on how to effectively apply beard dye with a brush.
What You Will Need
- Beard dye kit (which typically includes dye and developer)
- Brush (preferably a small applicator brush that comes with the kit)
- Disposable gloves
- Old towel or cape
- Petroleum jelly
- Comb
- Cotton balls or wipes
- Timer
Step-by-Step Guide
Step 1: Preparing Your Beard
Begin by thoroughly washing your beard with a mild shampoo to remove any dirt, oils, and styling products. Pat it dry with a towel. Make sure your beard is completely dry before applying the dye as moisture can dilute the dye and affect the final color.
Step 2: Protecting Your Skin
Apply a thin layer of petroleum jelly around the edges of your beard, focusing on areas like the cheeks, neck, and around the lips. This helps to prevent any dye from staining your skin.
Step 3: Mixing the Dye
Follow the instructions provided with the beard dye kit to mix the dye and developer. Usually, this involves combining equal parts of the dye and developer in a small plastic bowl. Stir the mixture thoroughly until it is well-blended.
Step 4: Start Applying the Dye
Put on the disposable gloves to protect your hands. Dip the applicator brush into the dye mixture, ensuring it’s fully coated. Start applying the dye using short, upward strokes, working from the roots to the tips of your beard hairs. Begin at the sides and work your way inwards, ensuring even coverage. Be cautious around sensitive areas like the mouth to avoid ingesting any dye.
Step 5: Comb Through the Beard
After you have applied the dye, use a fine-toothed comb to distribute the dye evenly throughout your beard. This step helps to ensure that every hair strand is coated and helps prevent clumps of dye. Be gentle to avoid pulling out any beard hairs.
Step 6: Waiting for the Dye to Set
Check the instructions on the beard dye kit for the recommended waiting time, which is typically between 15 and 30 minutes. Use a timer to keep track. During this waiting period, avoid touching your beard or moving around too much to prevent dripping or smudging.
Step 7: Rinsing the Dye
Once the waiting time is up, rinse your beard thoroughly with lukewarm water until the water runs clear. Do not use shampoo at this stage unless the kit specifically advises it. Ensure all the dye is washed out to avoid any skin irritation.
Step 8: Post-Application Care
After rinsing, gently pat your beard dry with a clean towel. If your beard dye kit includes a conditioner, apply it to keep your beard soft and manage the new color. Regularly moisturize and condition your beard to maintain its health and vibrancy.
Final Tips
For a more natural look, choose a beard dye that is only one or two shades darker than your natural hair color. Always perform a patch test before fully applying the dye to check for any allergic reactions. Beard dye typically lasts for several weeks, so you can touch up the roots as needed to maintain your desired look.

