Understanding Balayage
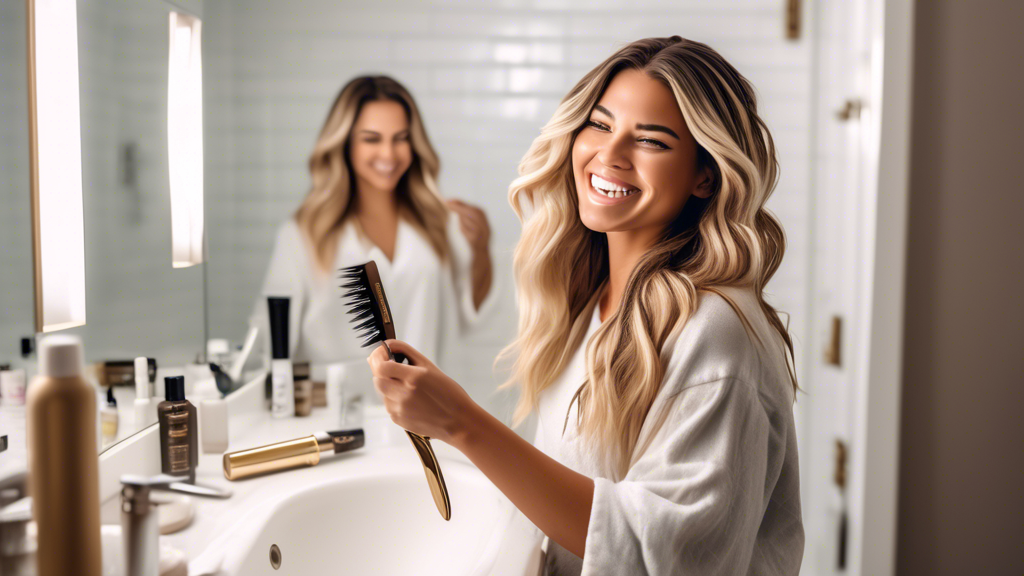
Balayage is a French word that means to sweep or to paint. This hair coloring technique delivers a natural, sun-kissed look with soft, understated highlights that blend seamlessly with your natural hair color. Unlike traditional foil highlights, balayage involves painting color directly onto individual sections of hair, allowing for a more customized and gradual lightening effect. The result is a low-maintenance, dynamic look that grows out gracefully.
Why DIY Balayage?
Going to a salon for a professional balayage can be expensive and time-consuming. Fortunately, with a little patience and the right tools, you can achieve salon-quality results at home. DIY balayage not only saves you money but also gives you the freedom to experiment with your look in the comfort of your own home.
What You Will Need
- Hair bleach or lightener
- Developer (20 or 30 volume)
- Toner (optional but recommended)
- Hair color brush or comb
- Plastic or rubber gloves
- Mixing bowl
- Hair clips
- Old towel or cape
- Shampoo and conditioner formulated for colored hair
Preparing Your Hair
Before diving into the balayage process, make sure your hair is in good condition. Healthy hair will yield the best results and minimize damage from bleaching. A few days before you plan to balayage, treat your hair with a deep conditioning mask to lock in moisture.
Step-by-Step Balayage Process
Step 1: Section Your Hair
Start by dividing your hair into manageable sections using hair clips. Separate your hair into three primary sections: the crown, middle, and nape. Within each section, further divide your hair into smaller sections that are easier to work with.
Step 2: Mix the Bleach and Developer
In a mixing bowl, combine the bleach powder and developer according to the instructions on the packaging. Make sure you are wearing gloves to protect your hands from the chemicals. Stir the mixture until it reaches a smooth, creamy consistency.
Step 3: Apply the Bleach
Using a hair color brush or comb, start applying the bleach mixture to your hair. Focus on the mid-lengths to the ends, as these areas should be the lightest. For a natural look, apply the bleach in a sweeping motion and vary the lengths of the highlighted sections. Ensure that you blend the bleach well to avoid harsh lines.
Step 4: Monitor the Lightening Process
Keep an eye on the lightening process and check the color every 10-15 minutes. The processing time can vary depending on your hair type and desired lightness. Once your hair has reached the desired level of lightness, rinse out the bleach thoroughly with lukewarm water.
Step 5: Apply Toner (Optional)
If your hair has unwanted brassy tones after bleaching, consider applying a toner to neutralize them. Follow the instructions on the toner packaging and leave it on your hair for the recommended amount of time before rinsing it out.
Post-Balayage Care
After achieving your DIY balayage, it's important to take care of your newly colored hair. Use a sulfate-free shampoo and conditioner designed for color-treated hair to maintain vibrancy and prevent damage. Additionally, incorporate a deep conditioning treatment into your routine at least once a week to keep your hair healthy and hydrated.
Conclusion
With a bit of practice and the right tools, you can achieve a stunning balayage at home. This DIY technique allows you to experiment with your hair color while saving both time and money. Just remember to take your time and be patient with the process. Happy balayaging!

